使用Helm CLI一键部署WordPress
本文介绍如何通过HELM CLI来部署WordPress应用。
前提条件
-
安装 Helm。可以选择以下方式:
-
参考 https://helm.sh/docs/intro/install/ 进行Helm 安装配置。
-
通过脚本方式安装:
curl -sSL https://raw.githubusercontent.com/helm/helm/master/scripts/get-helm-3 | bash -
通过包管理器安装。
- OS X安装:通过 Homebrew 包管理系统安装
brew install helm - Windows 安装:通过 Chocolatey 包管理系统安装
choco install kubernetes-helm
- OS X安装:通过 Homebrew 包管理系统安装
-
-
配置Helm Repo。阿里云为国内的开发者提供了 Helm repo 的镜像, 可以更加方便地使用。
-
配置阿里云稳定版的发布 repo:
helm repo add stable https://apphub.aliyuncs.com/stable/ -
对于海外客户可以继续使用官方repo:
helm repo add stable https://kubernetes-charts.storage.googleapis.com/ -
搜索 repo:
helm search repo stable
-
操作步骤
步骤一:部署WordPress
1、添加WordPress官方Repo地址。
$ helm repo add bitnami https://charts.bitnami.com/bitnami
2、部署命令解析。
为了实现数据的持久化,mariadb使用持久化存储卷保存数据。
持久化存储选用阿里云ssd云盘,大小为20Gi,并通过配置StorageClassName自动化创建。
WordPress不需要进行数据持久化,数据卷选项可配置为false。
3、执行Helm Install部署WordPress。
$ helm install wordpress bitnami/wordpress \
    --set mariadb.master.persistence.enabled=true \
    --set mariadb.master.persistence.storageClass=alicloud-disk-ssd \
    --set mariadb.master.persistence.size=20Gi \
    --set persistence.enabled=false

NAME: wordpress
LAST DEPLOYED: Tue Sep  8 10:37:05 2020
NAMESPACE: default
STATUS: deployed
REVISION: 1
NOTES:
** Please be patient while the chart is being deployed **

Your WordPress site can be accessed through the following DNS name from within your cluster:

    wordpress.default.svc.cluster.local (port 80)

To access your WordPress site from outside the cluster follow the steps below:

1. Get the WordPress URL by running these commands:

  NOTE: It may take a few minutes for the LoadBalancer IP to be available.
        Watch the status with: 'kubectl get svc --namespace default -w wordpress'

   export SERVICE_IP=$(kubectl get svc --namespace default wordpress --template "{{ range (index .status.loadBalancer.ingress 0) }}{{.}}{{ end }}")
   echo "WordPress URL: http://$SERVICE_IP/"
   echo "WordPress Admin URL: http://$SERVICE_IP/admin"

2. Open a browser and access WordPress using the obtained URL.

3. Login with the following credentials below to see your blog:

  echo Username: user
  echo Password: $(kubectl get secret --namespace default wordpress -o jsonpath="{.data.wordpress-password}" | base64 --decode)
上面输出表示已经部署完成。
步骤二:访问WordPress
1、根据部署提示,可以通过下面命令获取访问方式。
$ kubectl get svc --namespace default wordpress-acs-sample --template "{{ range (index .status.loadBalancer.ingress 0) }}{{.}}{{ end }}"
120.25.171.110
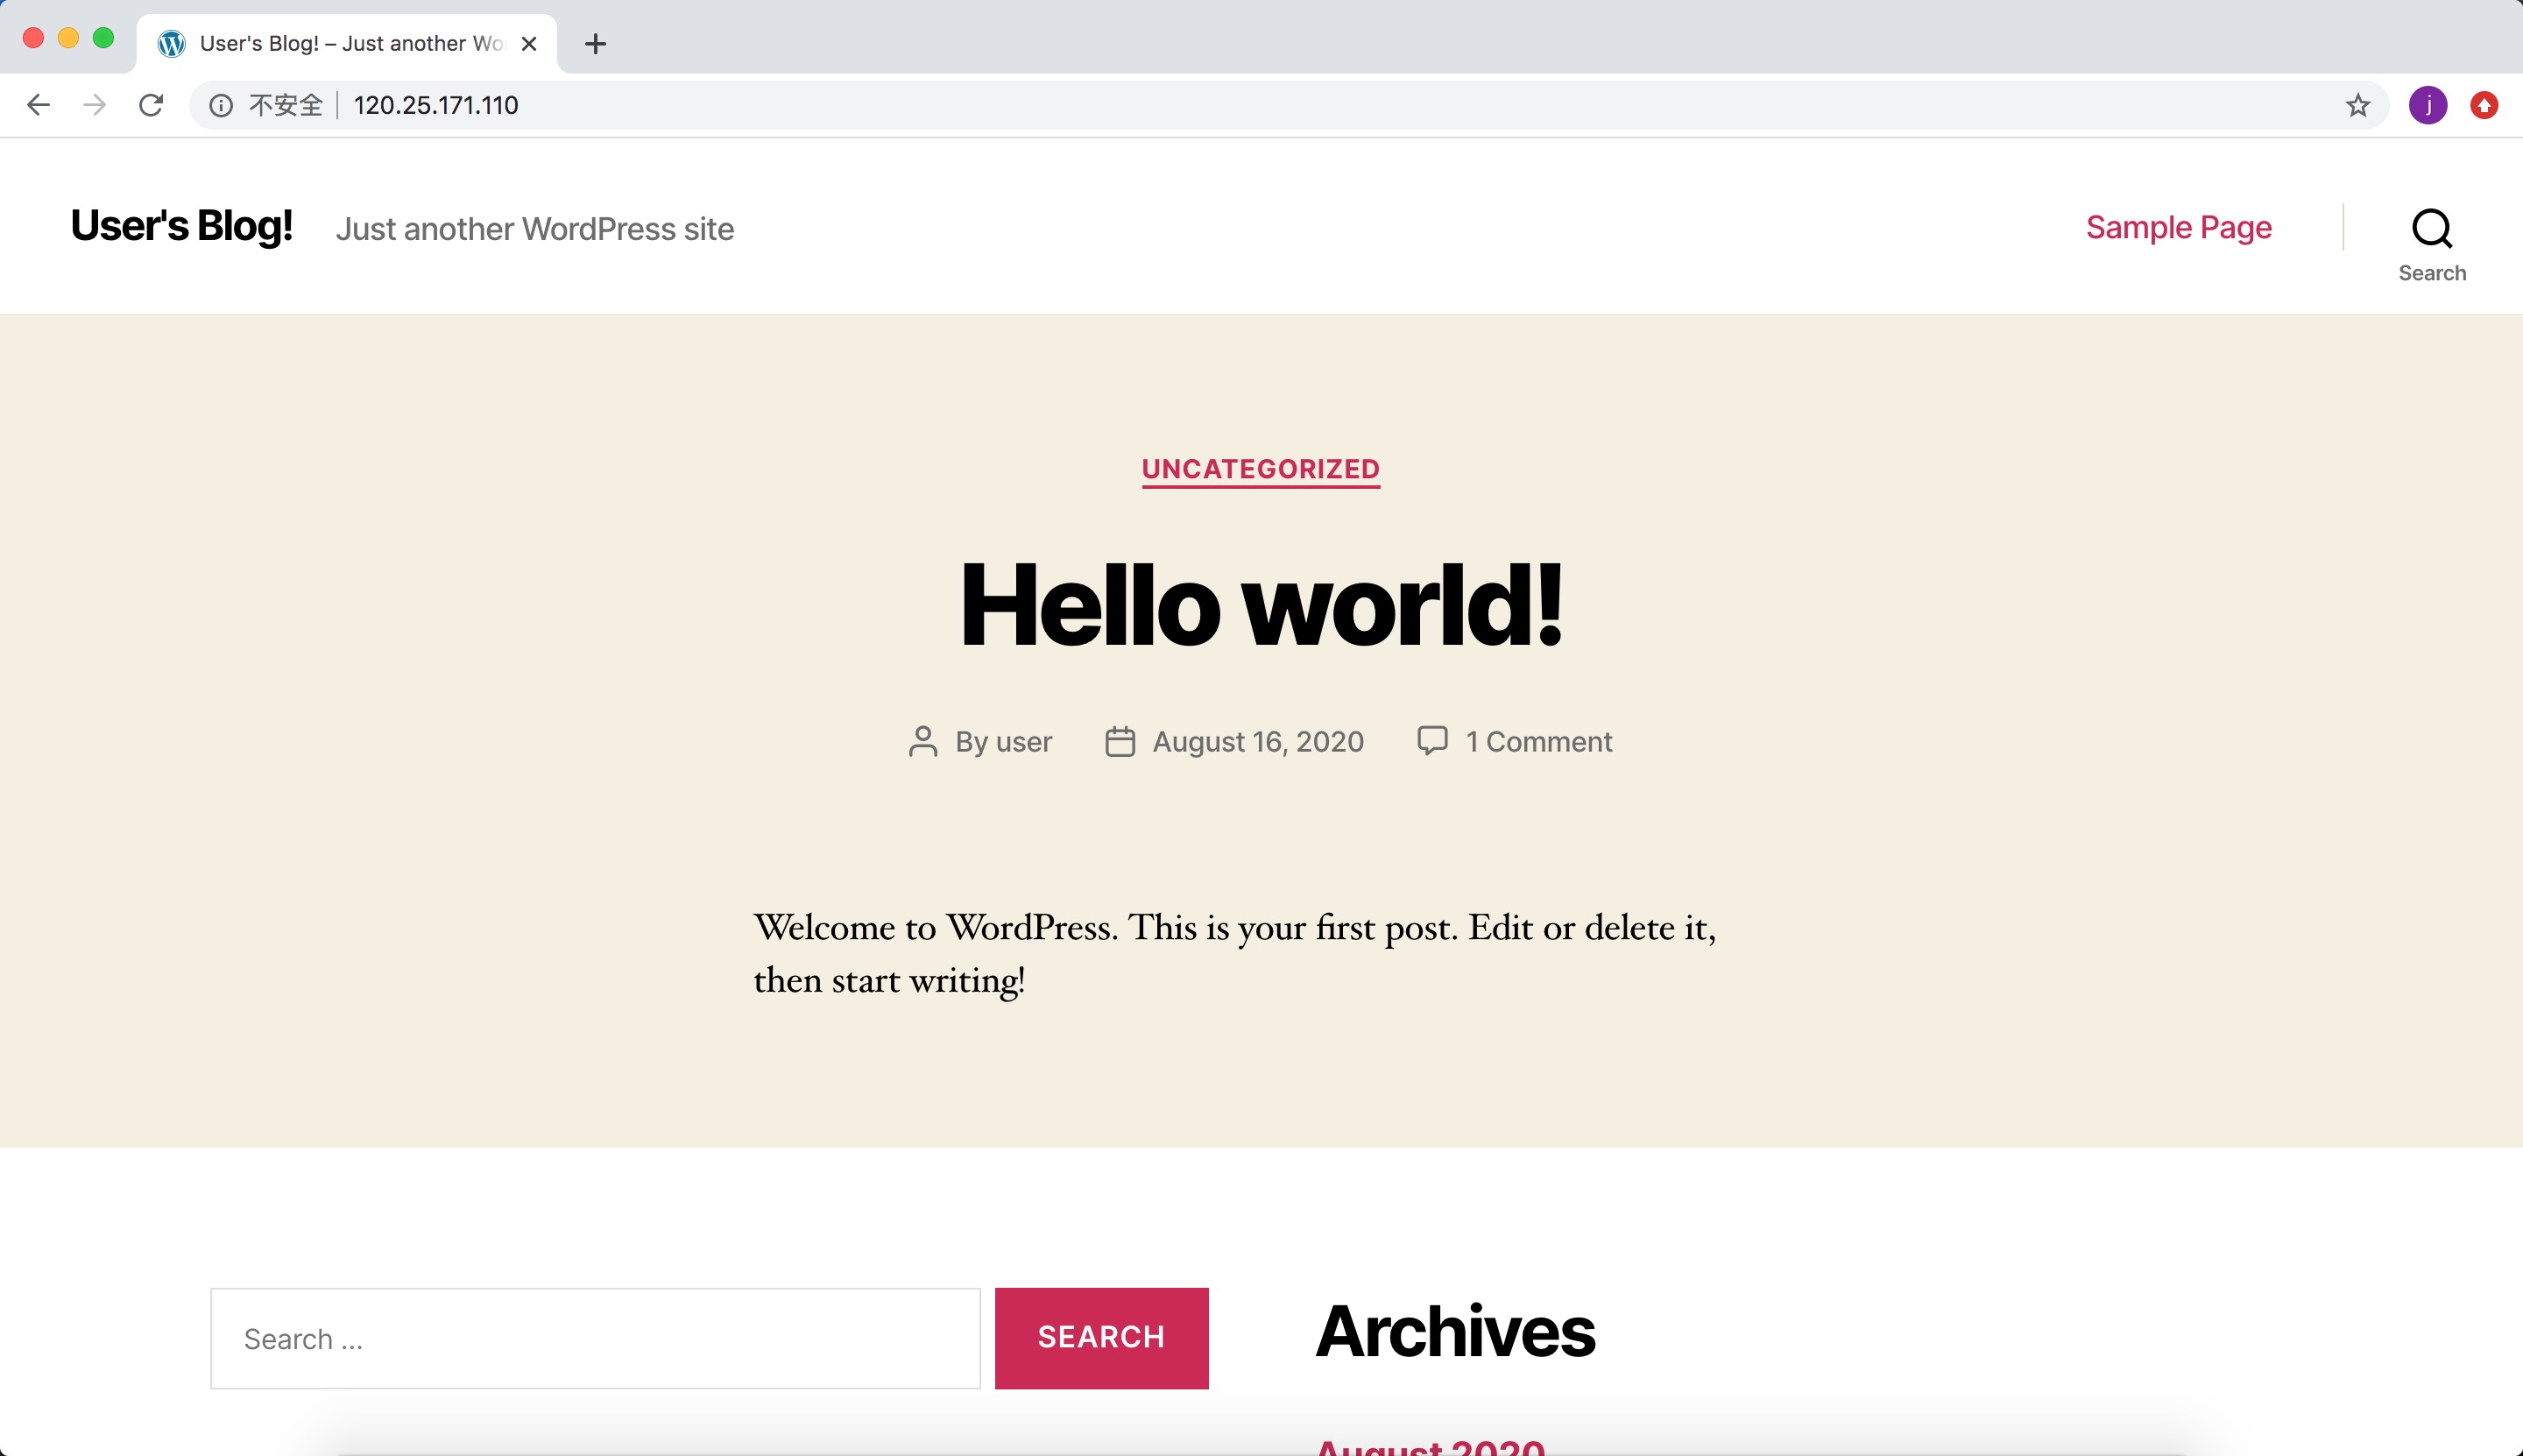
2、在浏览器中访问地址:http://120.25.171.110。
3、通过下面命令获取admin访问密码。
$ kubectl get secret --namespace default wordpress-ack-wordpress-sample -o jsonpath="{.data.wordpress-password}" | base64 --decode
K*****X**7
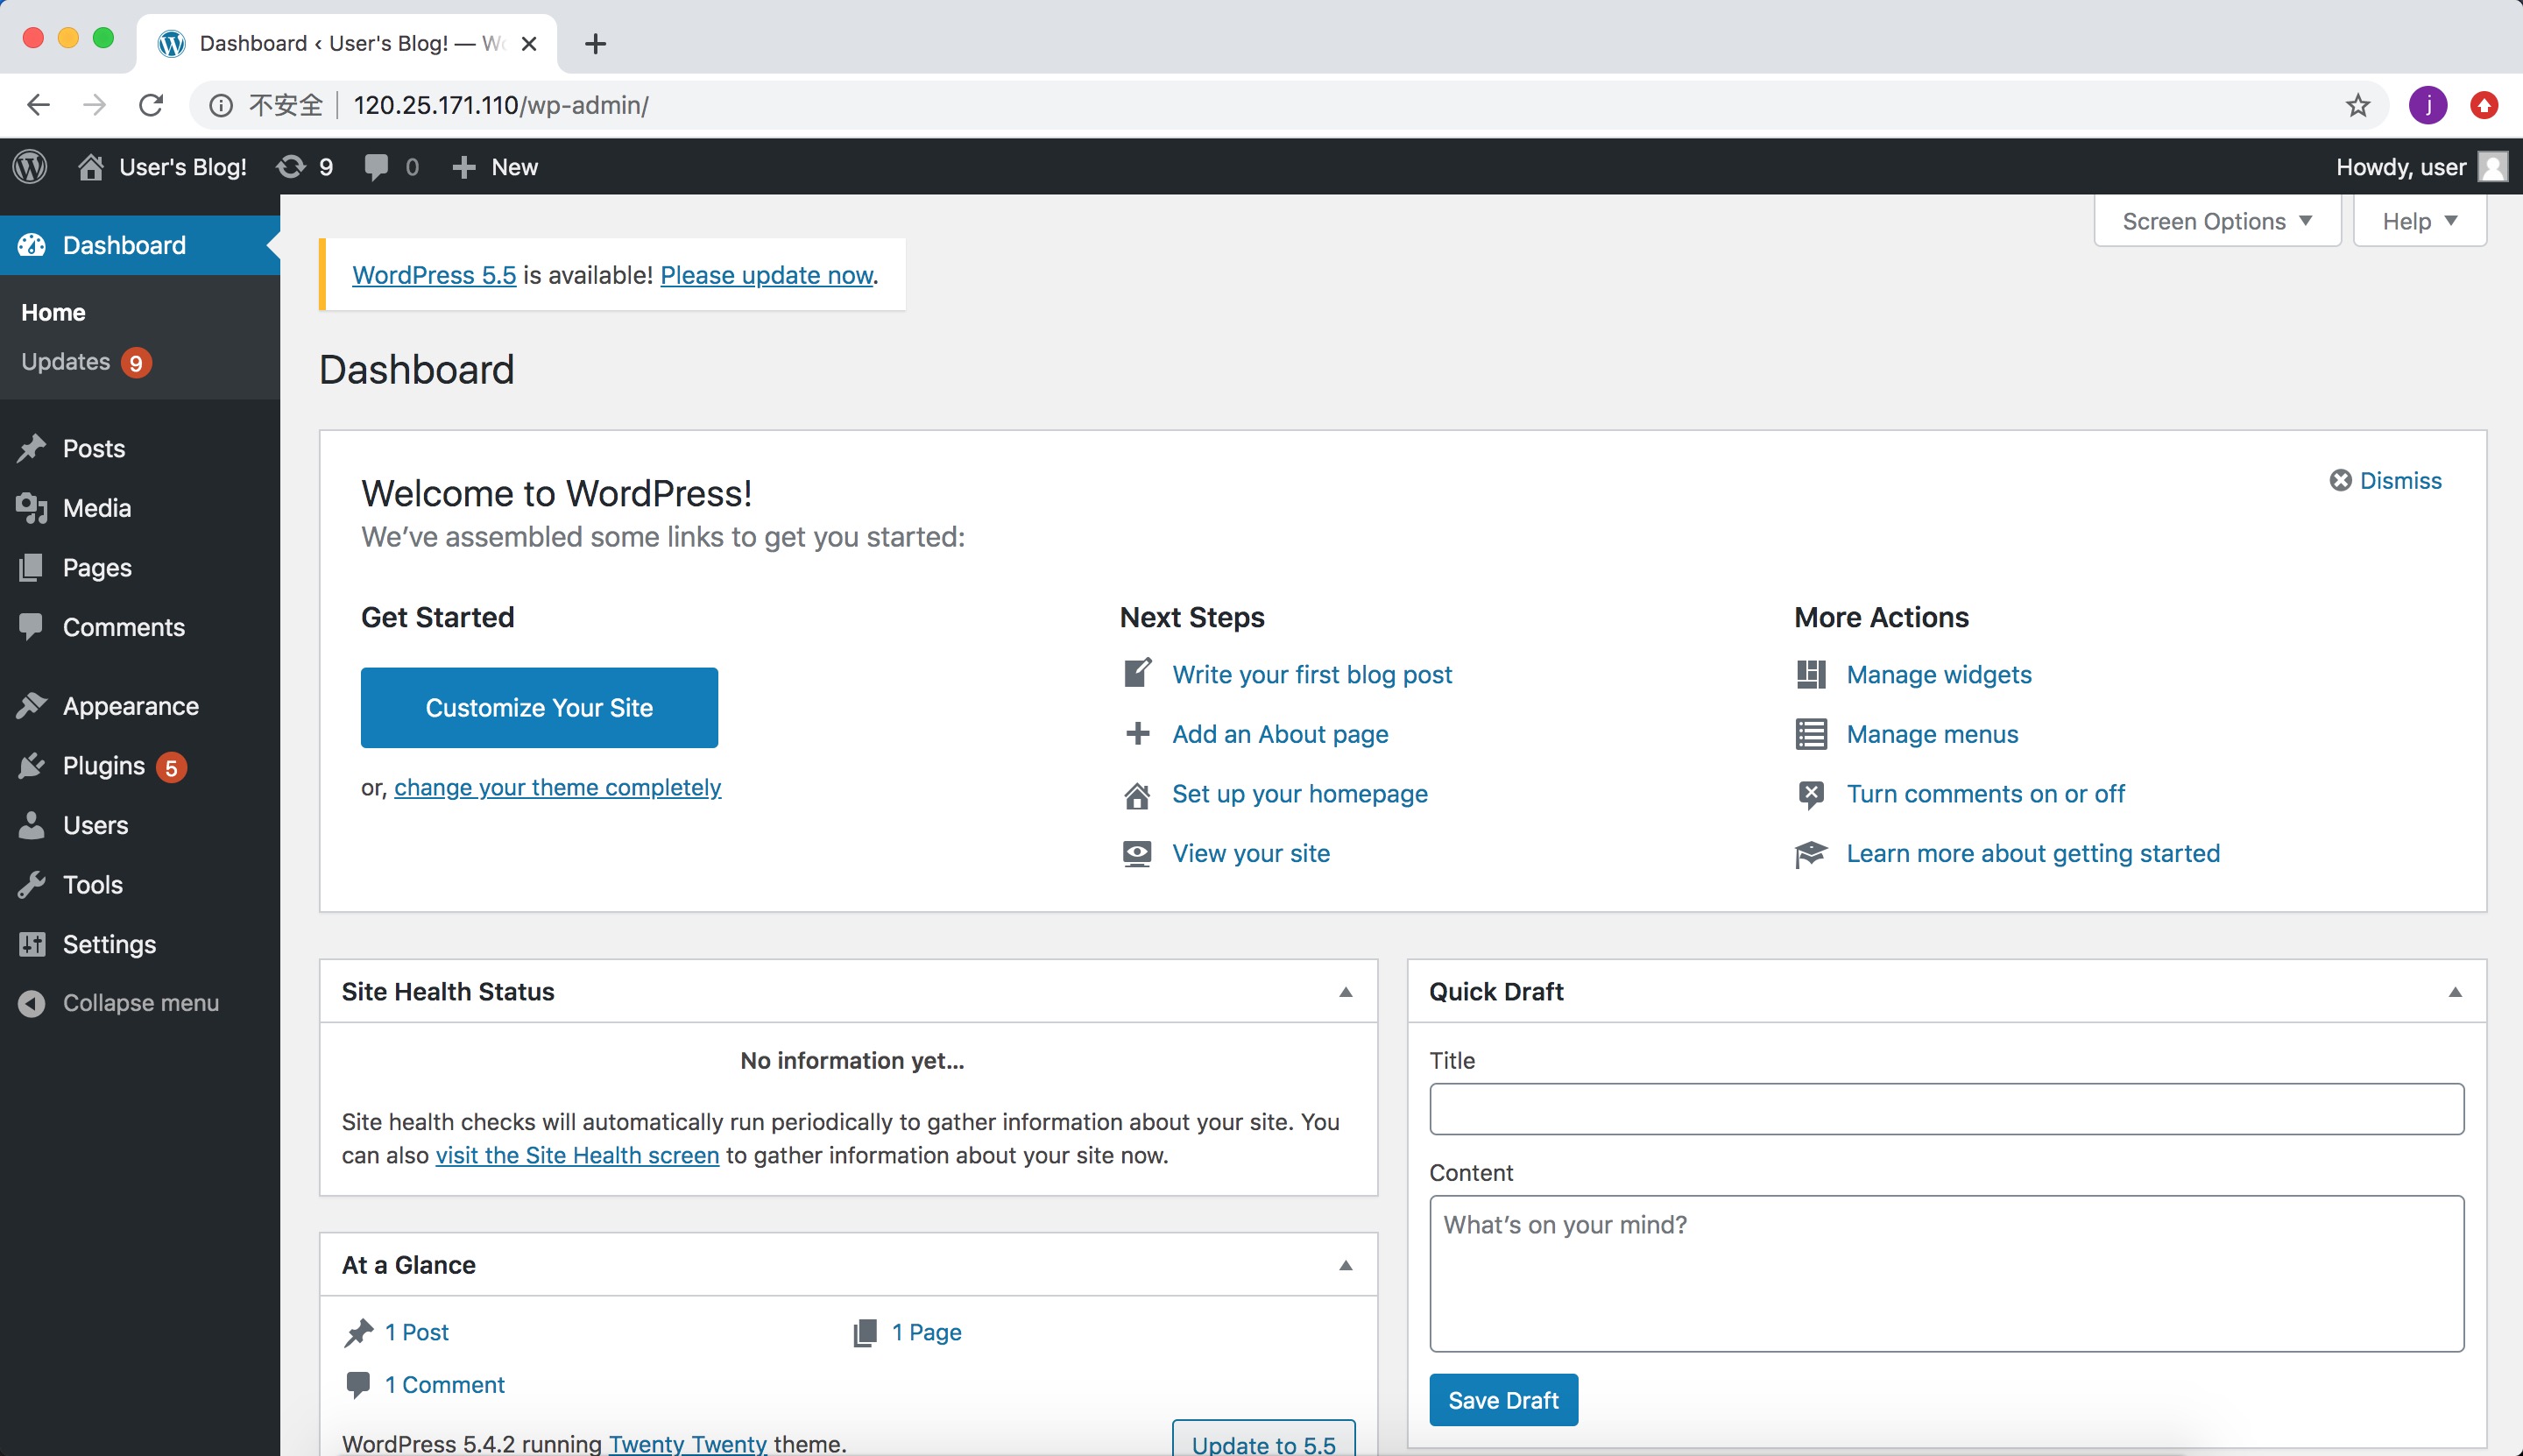
4、通过浏览器访问admin界面。
步骤三:删除应用
您可以通过Delete命令删除部署的workpress。
$ helm delete wordpress
release "wordpress" uninstalled